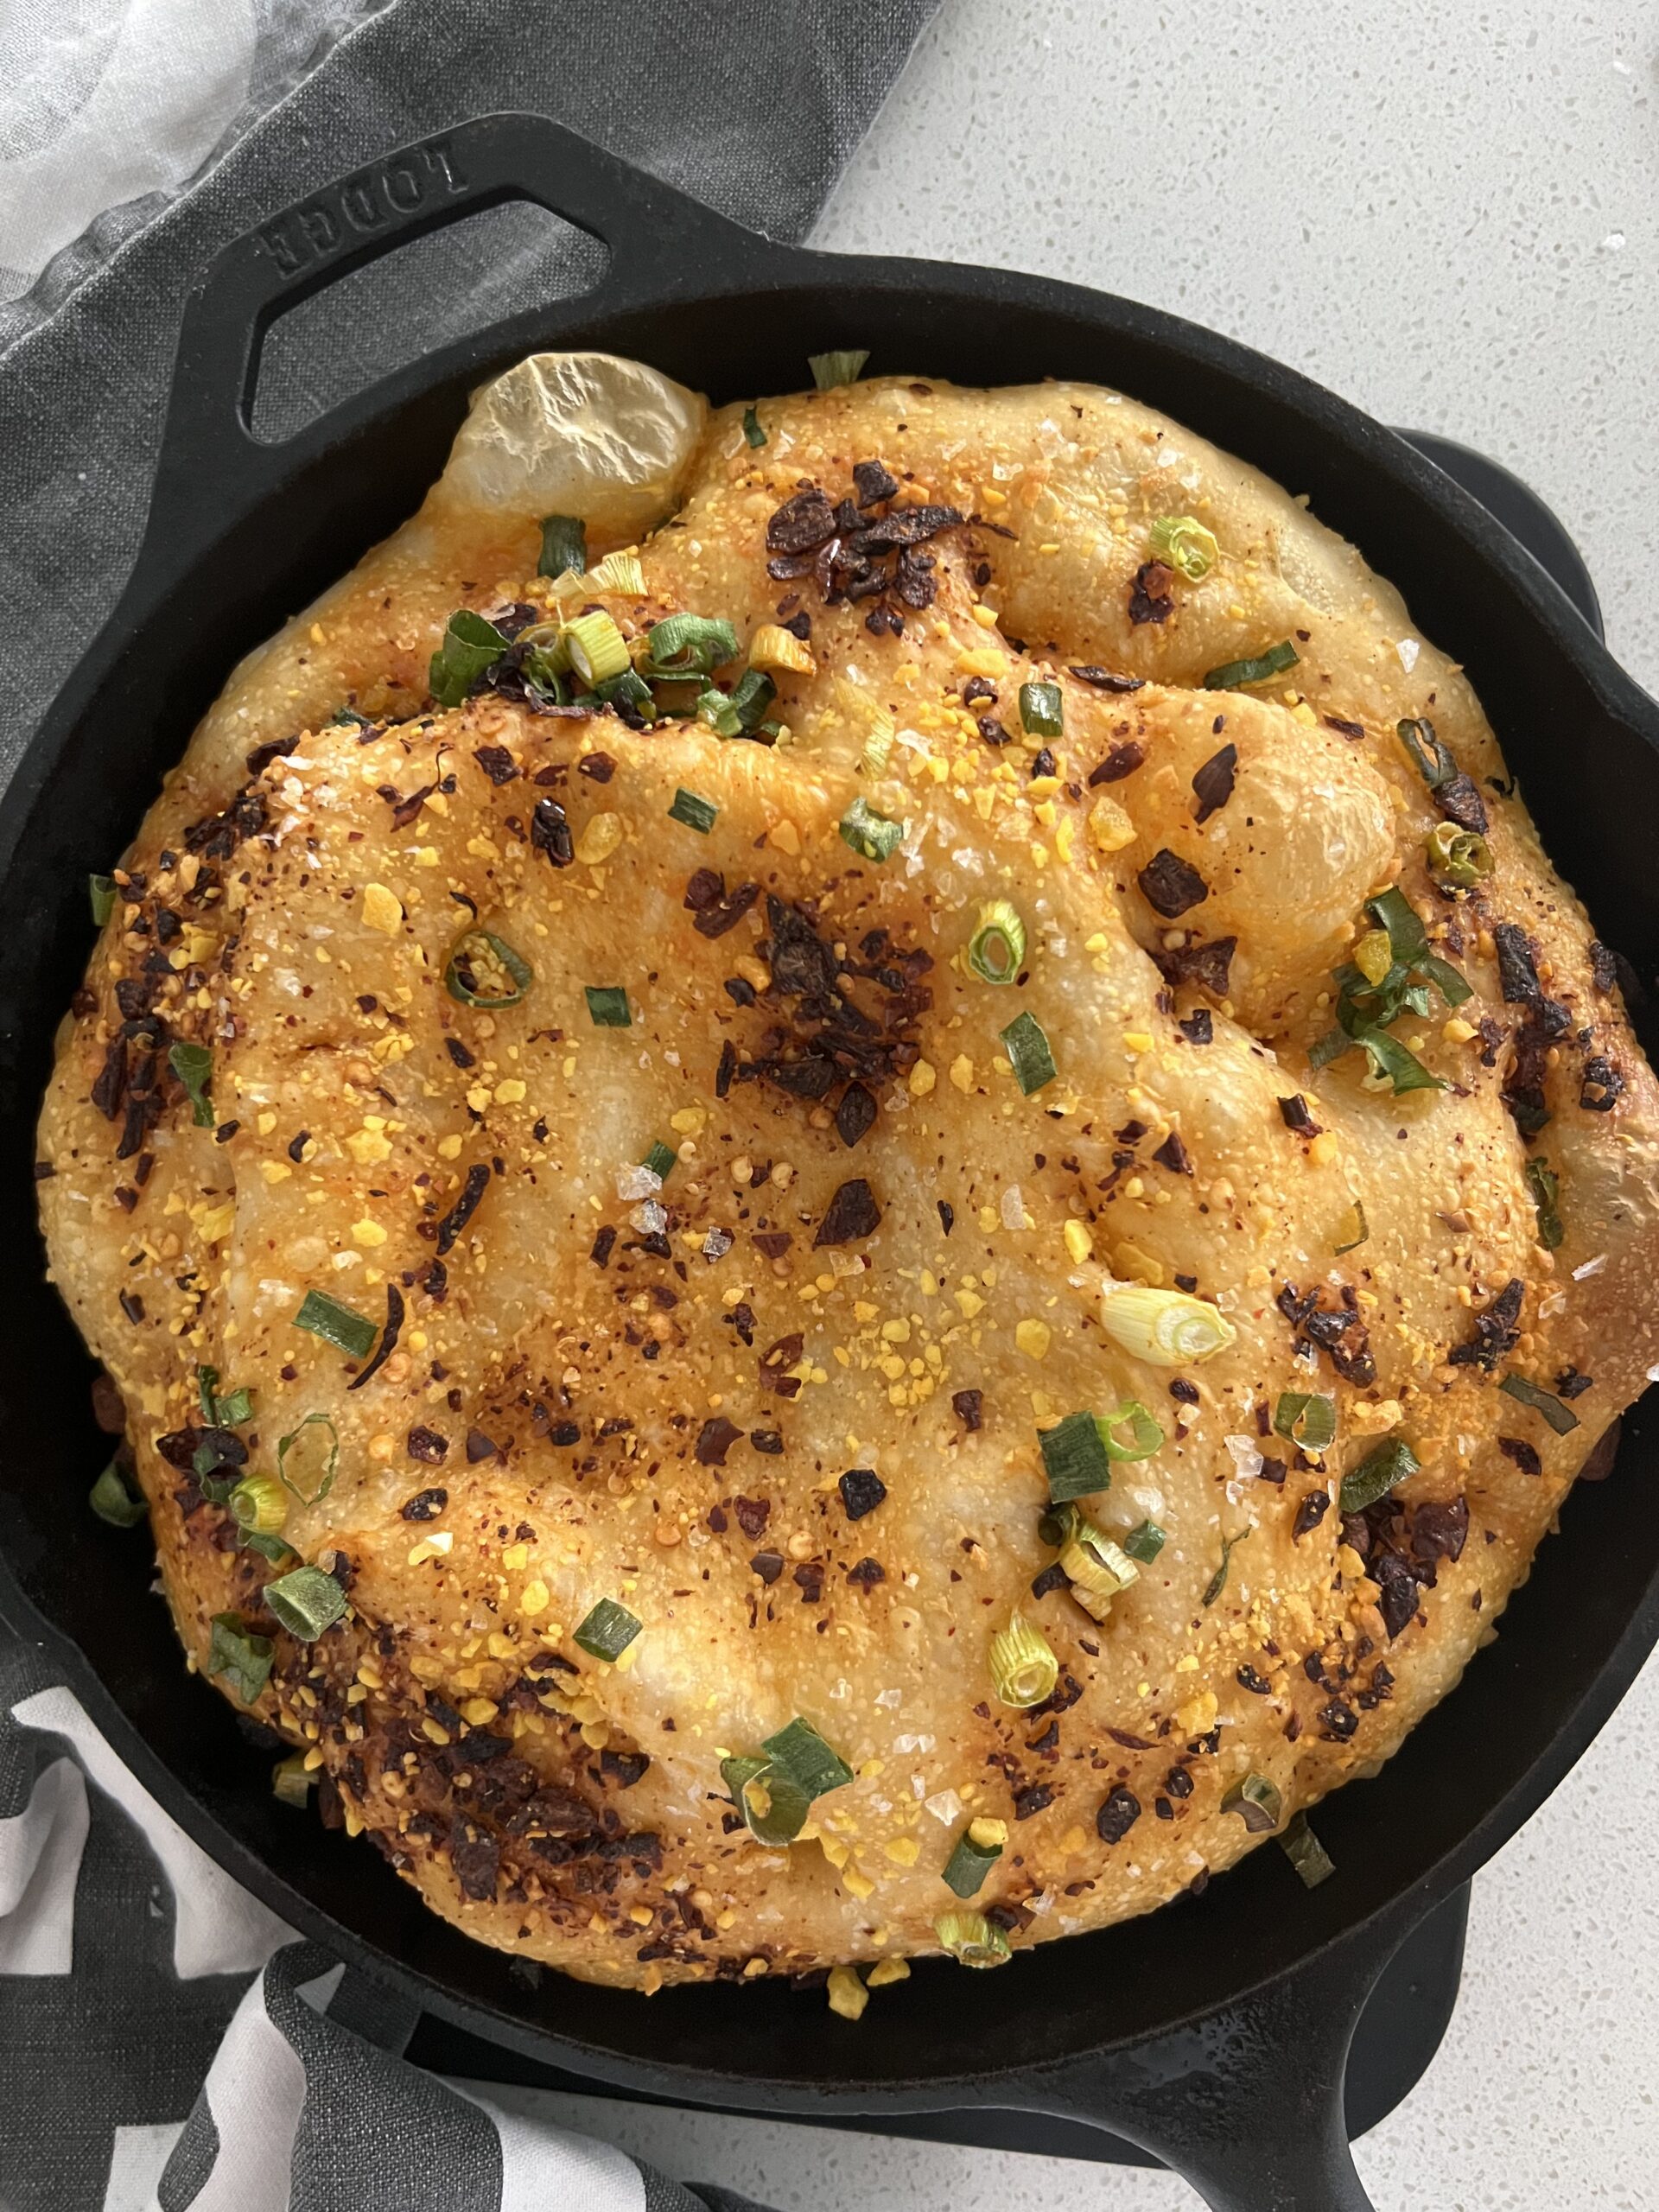
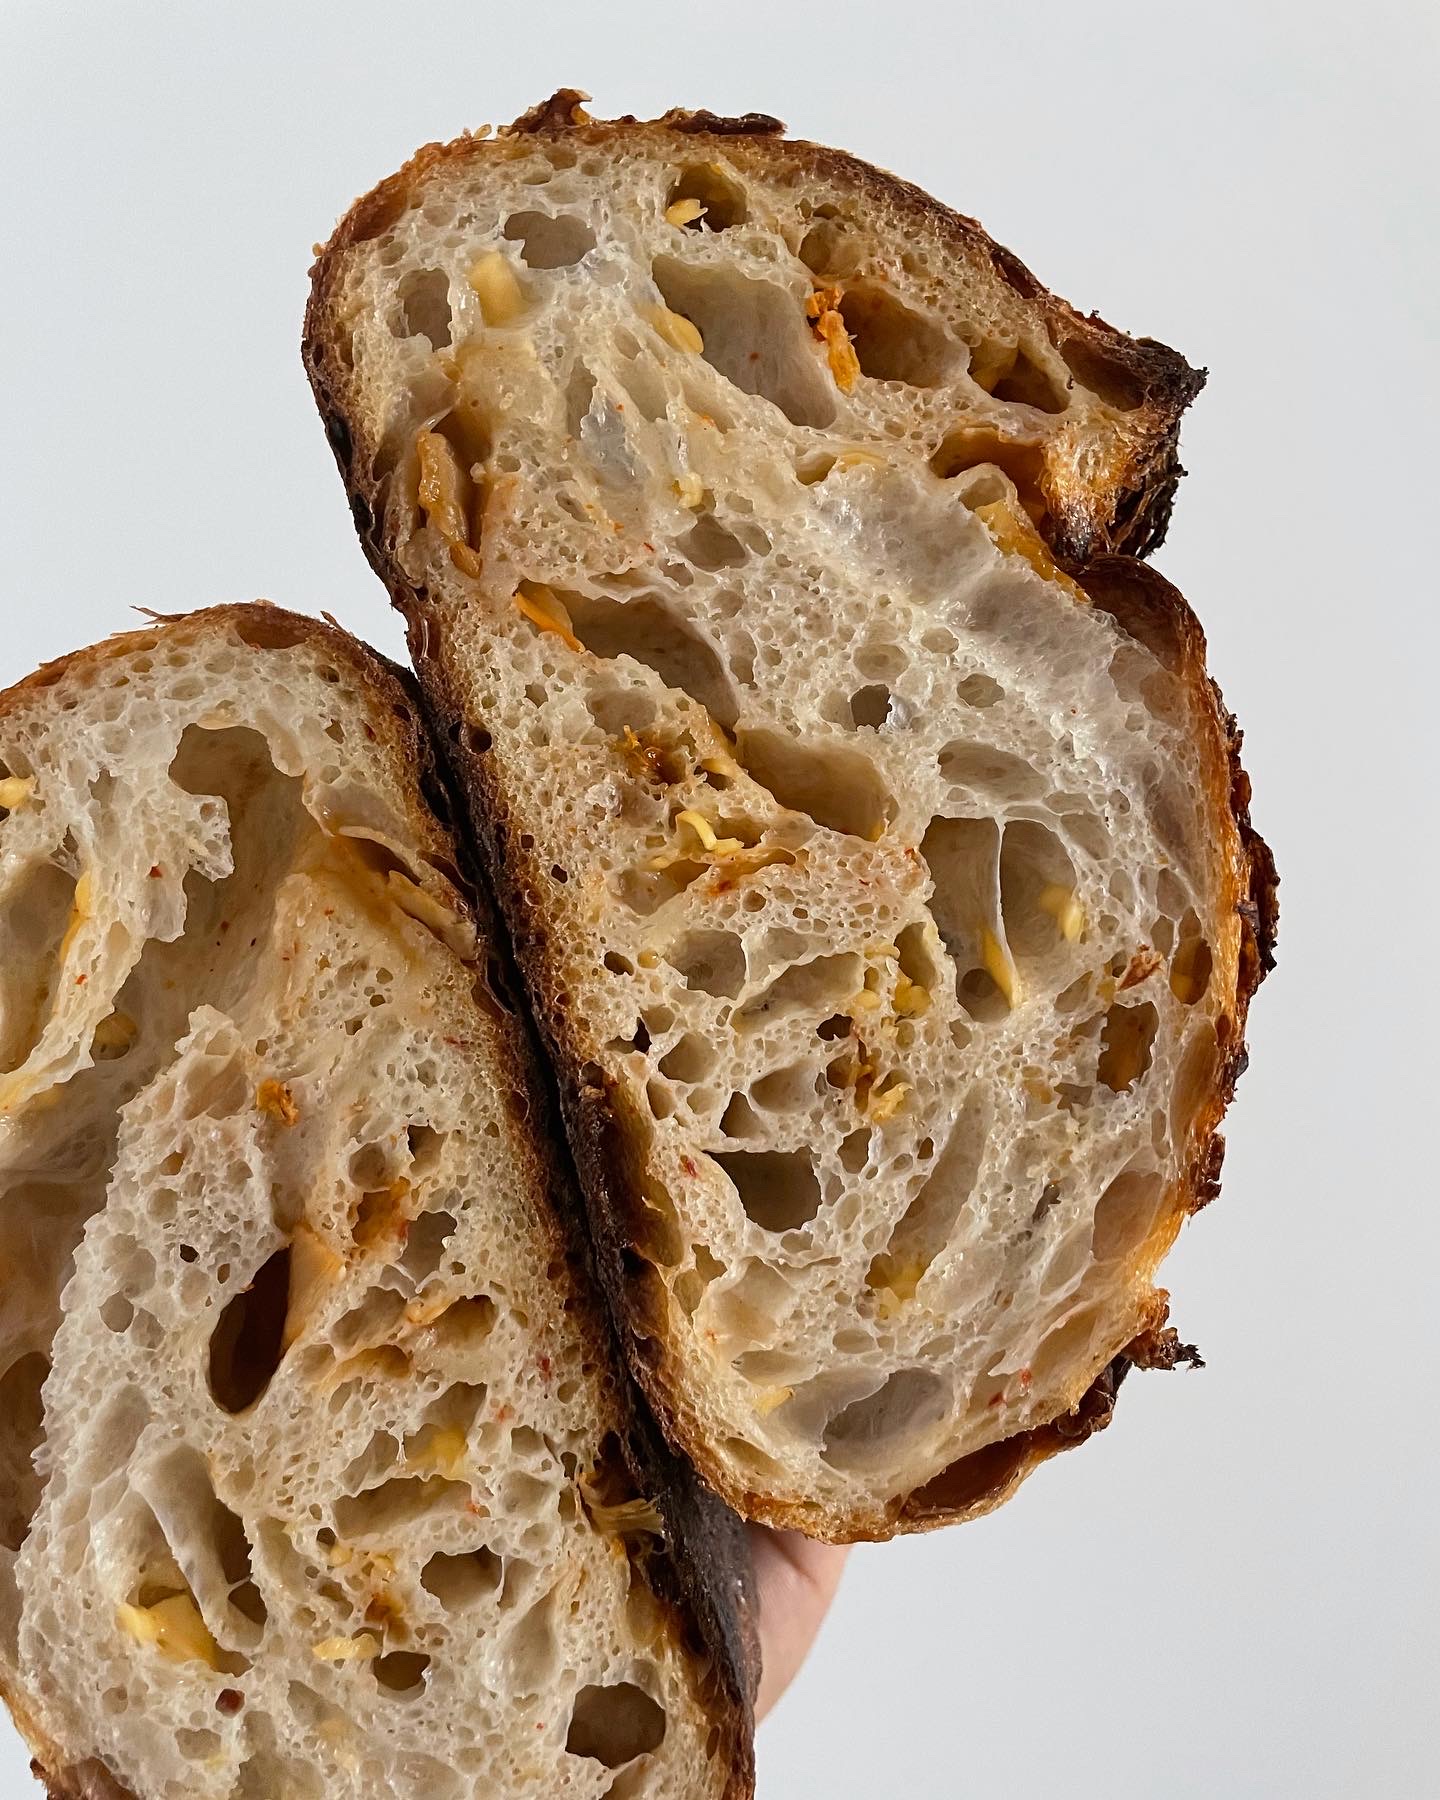
This is currently my favorite focaccia flavor! And my friends and family are loving it too. A unique Chinese twist on classic focaccia bread.
The recipe combines the richness of salted egg yolk, the fiery kick of chili oil, the aromatic essence of garlic, and the moderate tang from sourdough to create a flavorful and savory bread. If you are looking for a side item to impress, this is it!

Salted egg yolk vs. Cured egg yolk
Salted egg yolk and cured egg yolk are two different methods of preserving and flavoring eggs. Here are the main differences between the two:
- Preservation Method: The traditional method of making salted egg yolks involves placing fresh duck eggs (with their shells intact) in a salty brine or packing them in salt to cure over a period of several weeks. After curing, the egg yolks are carefully extracted and can be used in a variety of recipes. On the other hand, cured egg yolks are made by coating raw egg yolks in a mixture of salt and sugar and allowing them to dry out slowly in a controlled environment. The sugar-salt mixture helps remove moisture and inhibits the growth of bacteria, resulting in a firm and concentrated yolk.
- Texture: Salted egg yolks have a creamy, with a slightly firm consistency that still holds its shape. They are often used grated or mashed to incorporate into dishes or as a filling in various recipes. Cured egg yolks, on the other hand, have a firmer and denser texture. Once cured, they become solid and can be grated or thinly sliced.
- Flavor: Salted egg yolks have a rich, umami-packed flavor that’s mildly salty but not overpowering. The saltiness enhances the natural richness of the egg yolks. They provide a savory umami taste and are commonly used in both savory and sweet dishes, such as salted egg yolk custard buns or salted egg yolk fried rice. Cured egg yolks, on the other hand, have a concentrated and intense flavor. The curing process enhances the egg yolk’s natural richness and creates a more concentrated taste. They are often used as a flavoring ingredient, grated over dishes to add a salty and savory element.
In summary, salted egg yolks are preserved in a salt mixture and have a creamy, slightly firm texture with mildly salty flavor, while cured egg yolks are coated with a sugar-salt mixture and have a firm texture with an intense salty-umami flavor. Both have their unique culinary applications and are beloved for adding depth and flavor to various dishes.
For this recipe, I recommend using salted egg yolk since it adds more flavor than cured egg yolk and is not as salty. You can find them in the refrigerated section at most Asian supermarkets. If you are looking to make your own salted egg yolks, this salted egg recipe by Made with Lau is pretty identical to how my mother-in-law makes them (and is what I use in this focaccia).
Where can I find salted egg yolk?
Salted egg yolks can typically be found at Asian supermarkets in the refrigerated or preserved food section. They may be sold whole or sometimes packaged separately.
If you can’t find salted egg yolks and prefer not to make your own, you can substitute them with cured egg yolks. When using cured egg yolks, consider reducing the amount of flaky sea salt added to the focaccia, or replacing it entirely, as cured yolks are quite salty.
Cured egg yolk recipe
Cured egg yolk is very simple to make, requiring only 2 ingredients: egg yolk and salt. Refer to the simple recipe below to make your own cured egg yolk:
Ingredients:
- Fresh egg yolks
- kosher salt, enough to fully cover the egg yolks
- equal amount of salt in sugar, optional
Instructions:
- Mix equal parts salt and sugar in a bowl and spread half of the curing mixture in a container
- Place egg yolks on top and cover with remaining mixture.
- Cure in the refrigerator for 4-7 days.
- Rinse cured yolks under cold water and pat dry.
- They can last for several weeks to a few months in an airtight container in the fridge.
How to use salted egg yolk as a topping
- Shaving: Freeze your salted egg yolk beforehand, then use a microplane to shave it over the focaccia for a flavorful touch.
- Food Processing: Cut the salted egg yolk into quarters and freeze them. Once frozen, process the pieces in a food processor until they reach the graininess of kosher salt. Store the crumbled yolk in an airtight container and keep it frozen until you’re ready to use it.
How to prevent the chili oil from burning?
Chili oil can have a low smoke point, which means it can burn easily when exposed to high temperatures in the oven. To prevent chili oil from burning in the oven, I do two things
- Covering the focaccia: Create a barrier between the chili oil and direct heat by oiling tin foil and loosely placing it on top of the dough. OR, my prefered method, is to put a baking sheet on the rack above the focaccia.
- Lowering oven temperature: By cooking the focaccia first at 425F and then lowering the temperature to 375F, you can mitigate the burning that can happen when using chili oil with finely grounded chilis
Looking for more interesting sourdough bread recipes?


- Zhima Dabing: Sesame Scallion Flatbread (Sourdough or Yeasted)
- Spam Fried Rice Sourdough Loaf
- Korean Corn Cheese Sourdough Focaccia
- Sourdough White Cheddar & Onion Stuffed Bialys

Salted Egg Yolk Chili Oil Sourdough Focaccia
Equipment
- medium size baking dish like an 8×8 pan or a 10″ cast iron skillet (like Lodge)
- microplane or cheese grater
Ingredients
Focaccia dough
- 30 g sourdough starter
- 254 g water
- 6 g salt
- 300 g all purpose or bread flour
- olive oil
Topping
- Chinese chili oil like lao gan ma
- 1 salted egg yolk* frozen
- Maldon flakey sea salt
- olive oil
- sesame seeds optional
- scallions optional
Instructions
- Mix together sourdough, water, salt, and flour until a sticky dough forms. Let the dough rest for 30min to hydrate.
- Stretch and fold the dough. Take the dough from the sides and stretch it up and over the center of the dough. Rotate and repeat, stretching and folding about 6 times. Coat the dough in olive oil, cover, and let the dough rise overnight for 8-12 hours.

- Generously coat a baking dish with olive oil. Turn the mixing bowl upside down and let gravity do its magic and let the dough fall into the dish. Scrape any leftover dough out of the mixing bowl.
- Fold the four sides of the dough over itself (like closing a cardboard box). Flip it so the seam side is down and let rise uncovered for 4-6 hours.

- Preheat the oven to 425F.
- Speckle the top of the dough with Chinese chili oil (to your desired amount) and any additional toppings (like sesame seeds and scallions), and shave the salted egg yolk on top. Then, oil your hands and dimple the dough. Finish with a generous sprinkling of flakey sea salt.

- Place the focaccia on the middle rack and place a baking sheet on the rack directly above it. This will prevent the chilis from burning. Alternatively, you can cover the top with aluminum foil. Just make sure to remove the foil near the end and finish baking the focaccia uncovered so the top gets some color. Bake the focaccia for 25 minutes or until the top is a beautiful golden brown. If your chili oil contains finely ground chilies, after 15 minutes of baking, you can reduce the temperature to 375°F and allow it to finish baking.
- Allow the focaccia to cool for 15 minutes in the cast iron skillet before transferring it to a cooling rack. Enjoy fresh.
