
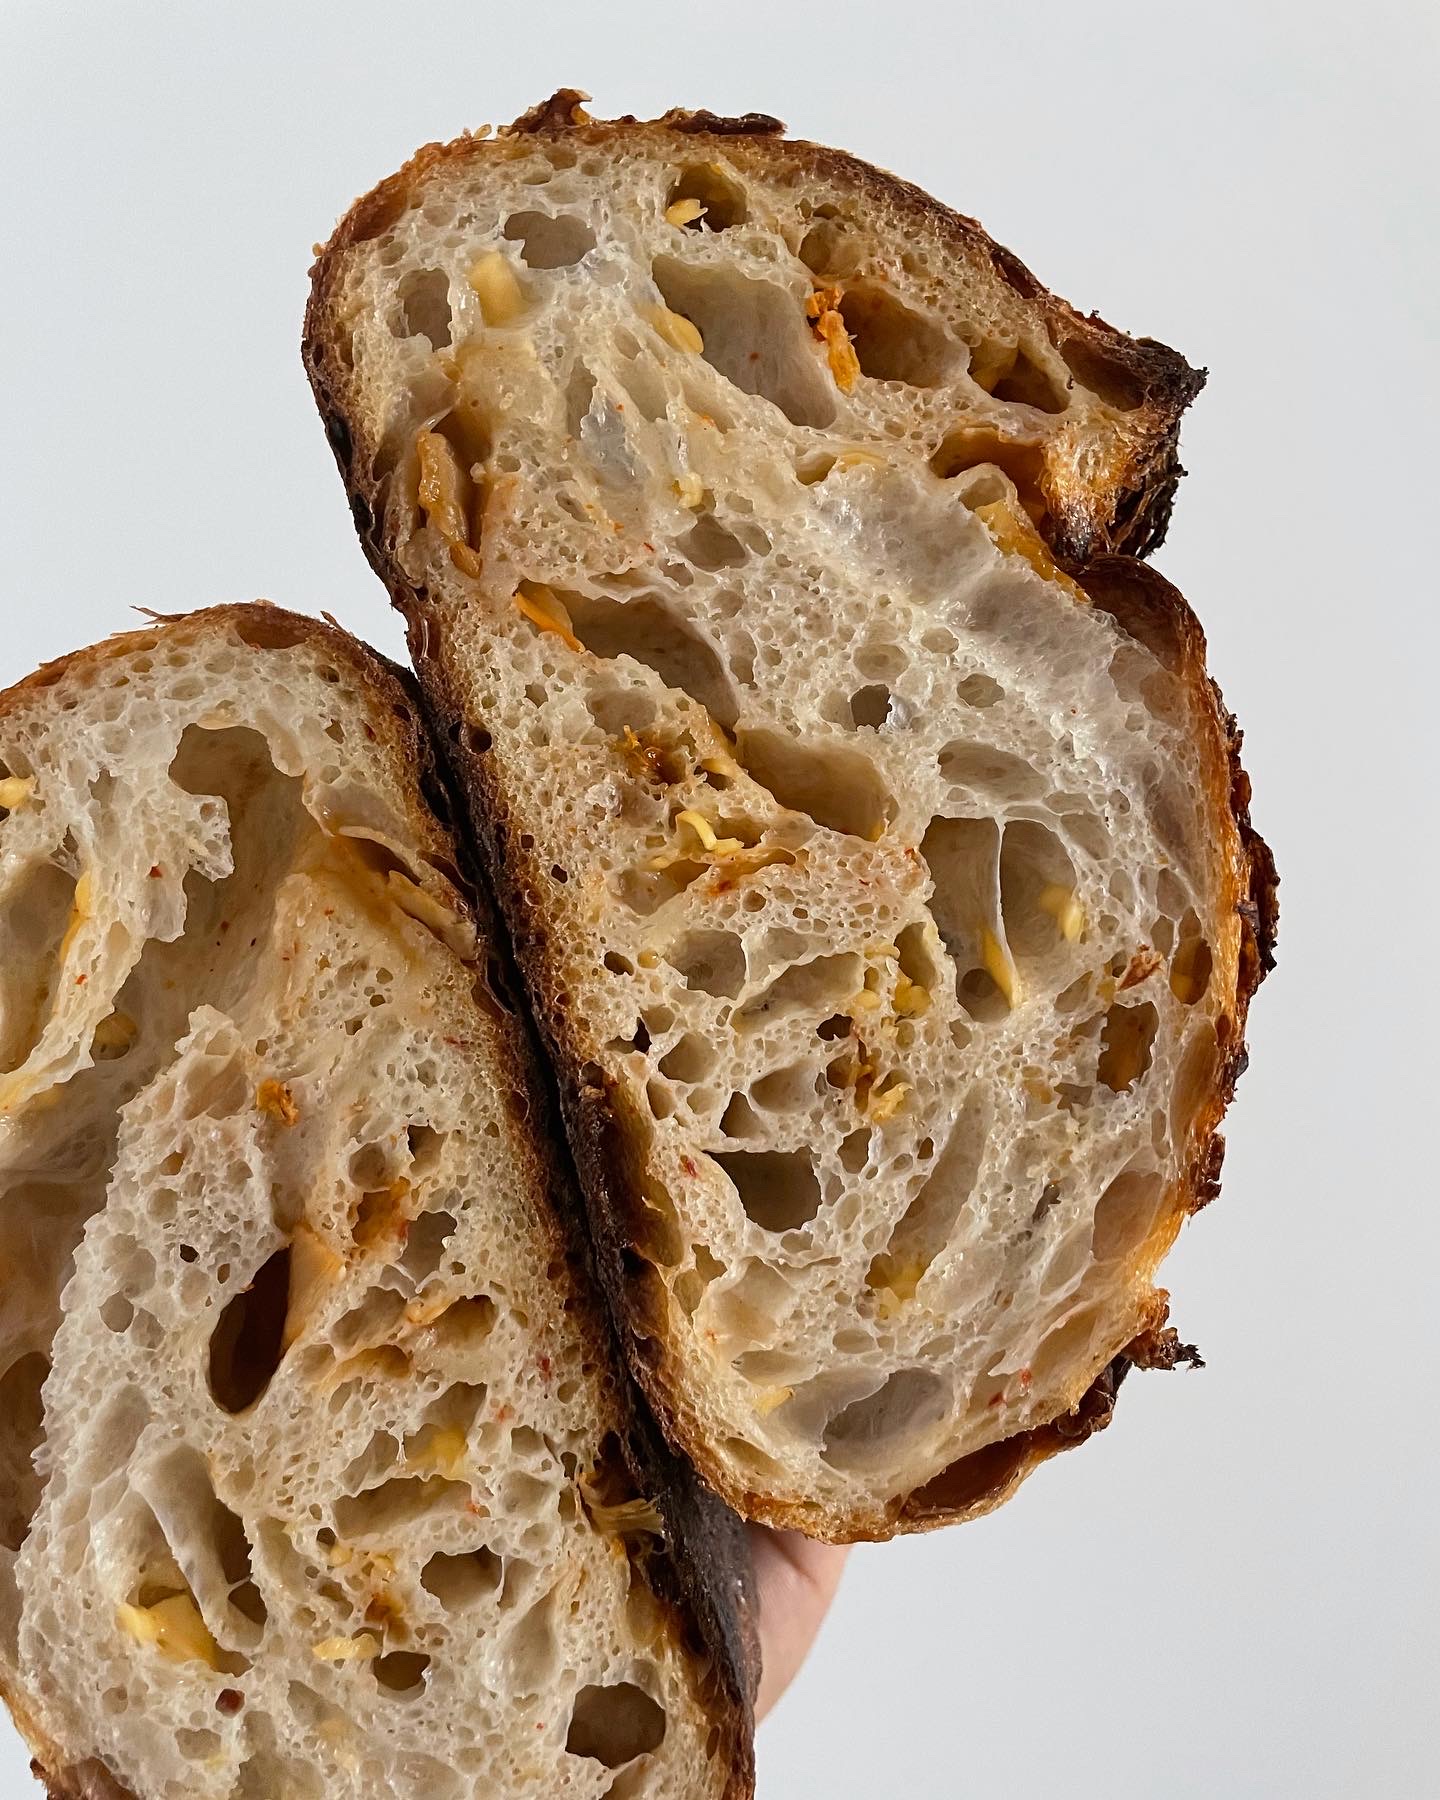
Look at those crumbs, isn’t it just dreamy?
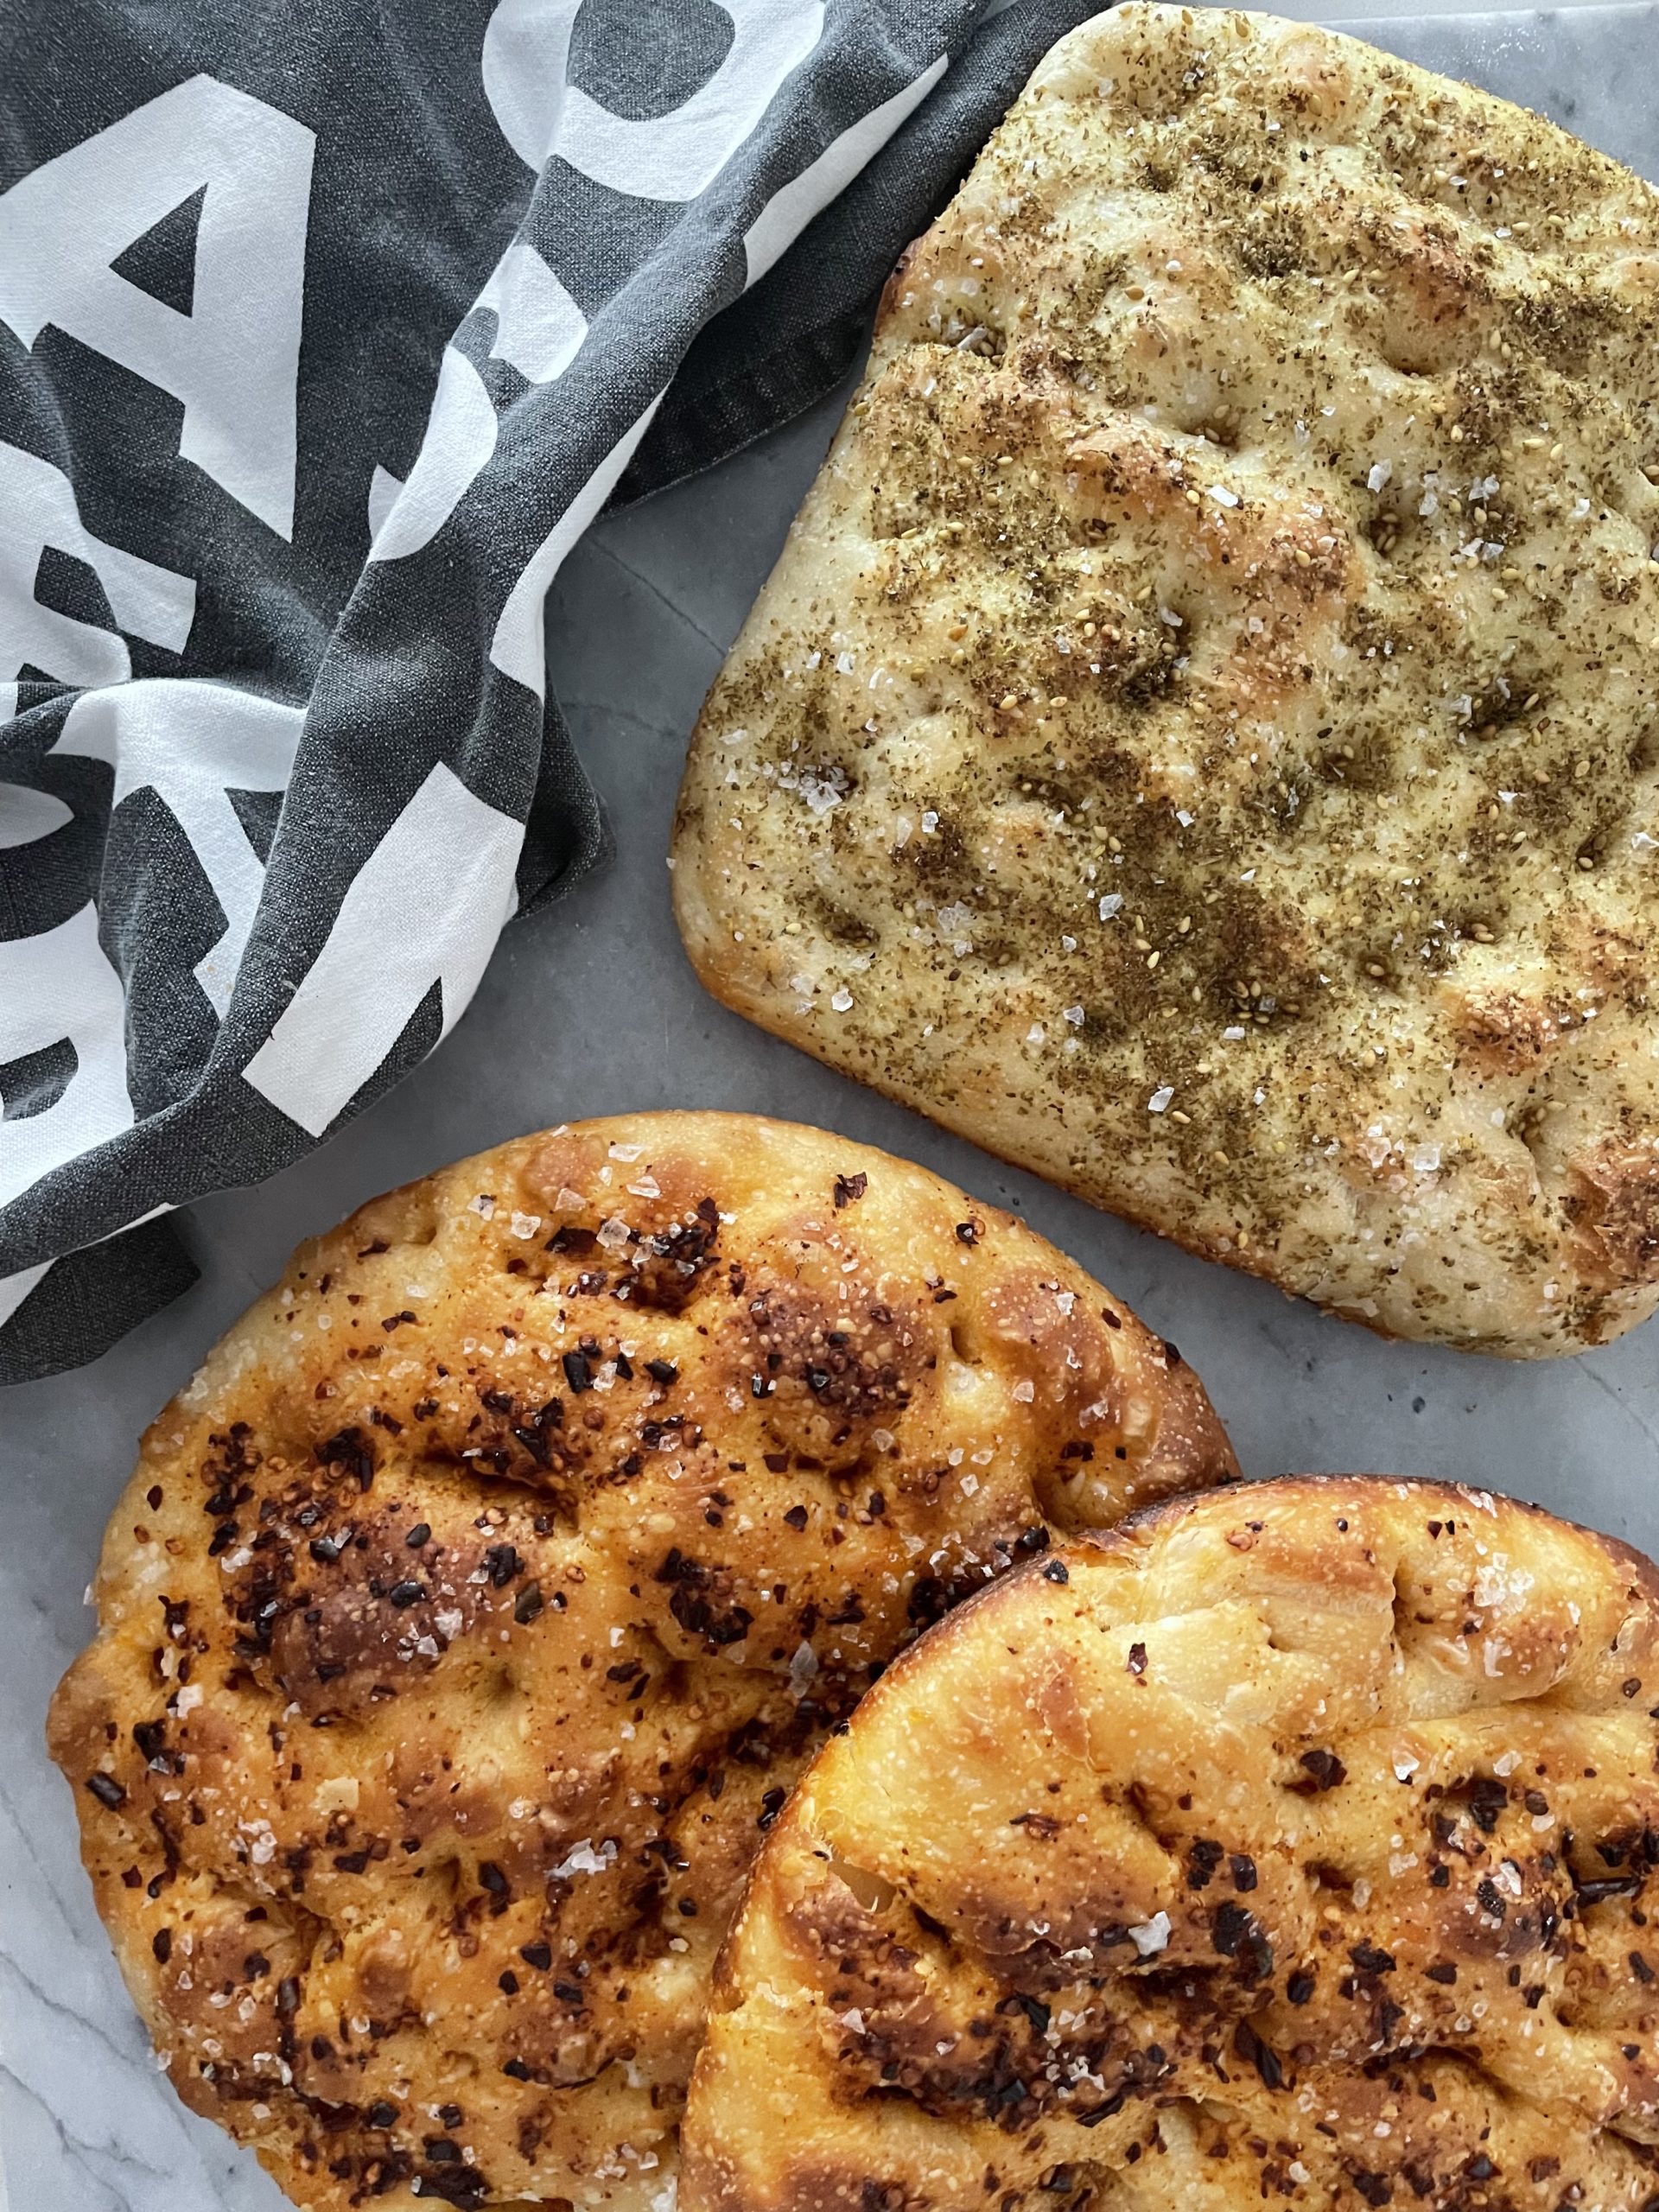
Sourdough tends to be pretty involved, but making focaccia is very simple to make. For anyone new to sourdough, making focaccia is the best thing to start with. Under or over-proofing is probably the one thing to look out for, but sourdough is time forgiving, allowing a rough 4-hour peak window to execute.
This recipe is for an 85% hydration focaccia with a fermentation time of 18 hours. It fits perfectly in a 10-10.5″ baking dish or cast-iron skillet. I usually mix in the evening and let the dough go overnight. The next day, I transfer the dough to a baking dish and let it finish rising, baking in the late afternoon– just in time for dinner! You can check out a sample baking schedule below.
Sample baking schedule:
Day 1:
- 10:00pm: Combine sourdough starter, water and salt. Add flour until a sticky dough forms. Let rest for 30 minutes.
- 10:30pm: Stretch and fold the dough over itself, rotating the bowl while doing. Do about 6 stretches and folds. Generously drizzle and coat the dough with oil. Cover and let rise at room temperature overnight for about 8-12 hours.
Day 2:
- 10:00am: Generously coat your baking dish with olive oil and transfer the dough into the dish. Gently pat the dough down and fold the four sides of the dough into itself (like closing the flaps on a cardboard box). Turn the dough over seam side down, generously drizzle and coat with olive oil, and let rise for another 4-6 hours. The dough should double and spread to fit most of the pan.
- 4:00pm: Preheat oven to 425ºF. Oil your fingers and gently dimple and stretch the dough to fit the pan. Sprinkle generously with flakey salt or a seasoning salt & herb mix of your choice. Bake for 25 minutes or until golden.


Baking Tips
Is my starter active?
The float test is a simple, popular method used to determine whether or not a sourdough starter is active and ready for baking. The float test is performed by dropping a small amount of the starter into a bowl of water to see if it floats. Simply, fill a small bowl or glass with room-temperature water, then take a spoonful of your starter and gently drop it into the water. If the starter floats, it’s filled with enough gas (produced by the yeast and bacteria during fermentation) to indicate that it’s active and ready to leaven your dough. If it sinks, the starter may require more feeding and time to become active.
Winter baking/proofing
Naturally leavening bread during the winter can be challenging due to the colder weather since the yeast becomes less active in lower temperatures. This inactivity can significantly slow down the proofing process, sometimes even doubling the time it normally takes for the dough to rise adequately.
One way to mitigate the impact of the cold weather on your bread-making process is to create a more conducive environment for the yeast to work efficiently. One easy method that everyone who bakes should have access to is the oven. Simply placing your dough inside the oven and turning the oven lights on can generate a small amount of warmth. The light bulbs in most ovens produce enough heat to raise the internal oven temperature to a more yeast-friendly range, usually around 70-75°F (21-24°C), which is ideal for proofing dough.
This method not only offers a warmer and more stable environment but also protects the dough from drafts or fluctuations in room temperature that could interfere with the rising process. However, it’s important to monitor the oven’s internal temperature if possible, as you don’t want it to become too warm, which might overactivate the yeast and lead to overproofing. If you notice it becoming too warm, simply turn off the oven light and continue to monitor the dough.
Use a cast iron skillet
The type of baking dish you use can make a big difference when baking focaccia. A cast iron skillet, like those from Lodge, is highly recommended because it distributes heat evenly, giving the focaccia a beautifully crisp, golden bottom. If you’re using a ceramic or glass baking dish, the bottom may not brown as well, resulting in a softer texture. However, if you don’t have a cast iron skillet, you can still achieve a crisp bottom by lining a ceramic or glass dish with aluminum foil. The foil helps to amplify heat and promotes better browning. Just be sure to generously oil the foil to prevent sticking and ensure a perfect bake.
Looking for more sourdough recipes?
- Rustic Overnight Sourdough Bread Rolls
- Overnight Sourdough Cream Cheese Stuffed Bagel Bites
- Flakey Sourdough Discard Biscuits
- Sourdough Neapolitan Pizza Dough
- Overnight Sourdough Cinnamon Rolls

Easy Overnight Sourdough Focaccia
Ingredients
- 25 g sourdough starter
- 212 g water
- 5 g kosher salt
- 250 g bread flour
- olive oil
- Maldon flakey sea salt or seasoning/herb mix of choice to sprinkle on top
Instructions
- Combine the sourdough starter, water, and salt. Then, mix in the flour until a sticky dough forms. Let it rest for 30 minutes.

- Stretch and fold the dough over itself, rotating the bowl as you do so. Perform about 6 stretches and folds. Generously drizzle oil over the dough and coat it thoroughly. Cover and let it rise at room temperature overnight for about 8-12 hours.
- The next day, the focaccia dough should have doubled in size and appear somewhat bubbly. Generously coat a cast-iron skillet with olive oil. Flip the proofing bowl containing the focaccia dough upside down and shake gently until the dough releases into the cast-iron skillet.

- Lightly oil your fingers and gently pat the dough down, then fold the four sides of the dough into itself (like closing the flaps of a cardboard box). Turn the dough over so it is seam side down, generously drizzle with olive oil, and coat thoroughly. Let it rise for another 4-6 hours in the oven turned off. The dough should double in size and spread to fit most of the pan.

- Take the proofed focaccia dough out of the oven and preheat the oven to 425°F.
- Oil your fingers and gently dimple and stretch the dough to fit the pan. Sprinkle generously with flaky salt or a seasoning salt & herb mix of your choice.
- Bake for 25 minutes or until golden brown.



Just made this recipe and had my first 2 pieces and it came out wonderful! Nice and light, crispy on the bottom, a nice little bit of chewy- yet crunchy- on the top. I’m fairly seasoned home baker but I’ve only made one boule and a few discard recipes like English muffins, pancakes, and crackers. This also the first loaf from a new starter, so it’s a two-fer! Success on both fronts!
This was so fun to make and tasted delicious. Crunchy outside, chewy inside and perfect amount for 2 of us and would have fed 2 more! Will definitely make again and sharing recipe with friends.
I’ve made this recipe several times. It’s my go-to focaccia recipe (seasoned with rosemary and sea salt).